In this blog we will explore the container database concept in Oracle Database 12c. We are going to create the pluggable database manually & schema under it.
In previous blog we have installed Oracle 12c Container Database. Refer here Oracle Database 12c Installation & Setup | Container Database | Windows 10
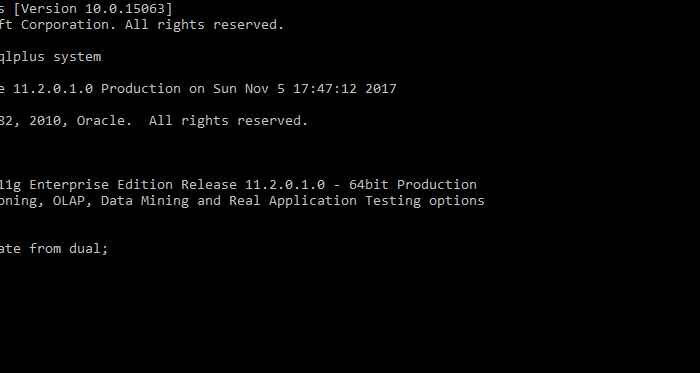
I have logged in the Oracle 12c Container Database using sys as dba.
In connected session V$DATABASE showing database which was created at the time of installation of Oracle Database 12c. If you refer below screenshot column value CDB=’YES’ i.e. its a container database(CDB).

Multitenant architecture enable the Oracle database to work as multi-tenant container database (CDB). All Oracle databases before 12c were non-CDBs.
Container Database (CDB) has following containers in it :
- Root: Container is named as
CDB$ROOT. Oracle supplied metadata & main database holding all control files, redo etc. - Seed PDB: Named as
PDB$SEED. System supplied template that CDB can use to create new PDBs. - User-created PDB: Pluggable database created by user for business requirements. Actual schemas will be created under here for code & data.

You can run below command to check your connected container. I’m running this command in my sys as dba connection. Here it is showing that you are connected to the CDB$ROOT i.e. root container.
sho con_name;

Create Pluggable Database :
Here we will see how we can create pluggable database under our root container. See below sample SQL for creating manually the pluggable database. You have to provide DB name, admin user name i.e. which will be admin of your PDB.
You can also create PDB using dbca. Just do Windows search.
CREATE PLUGGABLE DATABASE <database-name> ADMIN USER <username> IDENTIFIED BY <password>
DEFAULT TABLESPACE USERS
DATAFILE '<location>'
SIZE <size> AUTOEXTEND ON
FILE_NAME_CONVERT=(
'<location of pdbseed pdb>',
'<location of new pdb>');
I have created the pluggable database using my sys connection i.e. root. You can check your data files created in the provided location.

After creating the pluggable database you can check its initial status should be present as MOUNTED. Check the data in v$pbs

You have to fire below command to put your database in read write mode.
alter pluggable database PDB open;

Now your pluggable database is altered & its showing “Read Write” mode. You can also check the status of PDBs using sho pdbs;
Creating Pluggable Database Schema:
In this step we are going to create the database schema under our pluggable container. Just need to alter the container.
alter session set container=PDB;
sho con_name;

CREATE USER DEV_SCHEMA IDENTIFIED BY DEV_SCHEMA;
GRANT CONNECT, RESOURCE, DBA TO DEV_SCHEMA;
GRANT CREATE SESSION TO DEV_SCHEMA;
GRANT ALL PRIVILEGES TO DEV_SCHEMA;

Setting up SQL Developer Connection:

Refer this blog for setting up the new sample schema ‘Customer-Orders’ : Customer-Orders Sample Schema | Oracle 12c
Thanks!
Happy Learning! Your feedback would be appreciated!
Follow @shobhitsinghIN